跳到内容
跳到内容 Vintage-leaning headwear is back, but not all “distressed” looks are created equal. If you’re searching for how to distress a hat, you likely want a safe, repeatable method that works across styles—dad hats, baseball caps, truckers, even buckets—without ruining the brim or the logo. This guide blends DIY practicality with factory insight: how different fabrics (cotton twill, denim, canvas vs. polyester/nylon) respond to abrasion, fading, and fraying; which home tools (fine sandpaper, an old toothbrush, diluted bleach or peroxide, tea/coffee dye, a needle and patch) deliver authentic wear; and how to stage the process—test, lighten, scuff, then set and protect. We’ll also cover common pitfalls (paper-board brims, over-bleaching), aftercare to preserve shape and color, and when brand-level techniques make sense for consistent results. Whether you’re aging a single distressed dad hat or planning a small production run, start here for a controlled, vintage finish.
Background: The Rise of Distressed Hat Style
The trend of distressed hats is rooted in the broader resurgence of vintage, workwear, and Y2K-inspired fashion. Today’s consumers aren’t only buying new products—they’re actively searching for ways to give them a lived-in, authentic look. This is why queries like how to distress a hat, how to make a dad hat look vintage, or DIY distressed baseball cap have become so common on Google. Behind these searches lies a mix of fashion desire and practical concern: people want their hats to reflect individuality and character, but they also want clear, safe methods that won’t ruin the brim, logo, or overall structure.
The demand can be grouped into three main categories. First are DIY enthusiasts, who look for step-by-step tutorials using sandpaper, diluted bleach, tea dye, or thread-pulling to create a one-of-a-kind style at home. Second are emerging brands or small retailers, interested in small-batch distressing to test new collections or add variety to their catalogs. Finally, at the industrial level, mass production leverages advanced techniques such as enzyme washing, laser distressing, or controlled abrasion to ensure consistency, safety, and scalability.

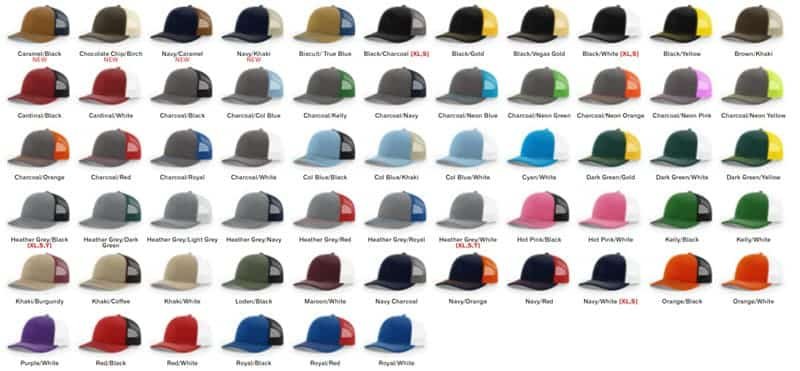
From a manufacturing standpoint, not every technique fits every material. Cotton twill, denim, and canvas respond well to abrasion and fading, while polyester or nylon caps may resist distressing or risk deformation. Even brim cores and embroidered logos can limit the choice of process, shaping both what users search for and what solutions they expect. As a result, when users type how to distress a hat into Google, they’re not only looking for styling tips—they want trustworthy guidance on what works, what to avoid, and when to turn to professional finishing for a reliable, fashion-forward result.
Hat Distressing Process
Quick answer (3–5 steps): Choose the right fabric and hat shape → test on a hidden spot → apply low-intensity abrasion or light fading → gradually build damage for natural-looking wear → set shape and protect color.
This short roadmap answers the most common how to distress a hat queries while keeping risk control and reproducibility front-of-mind.
Step-by-step overview
- Pick the right fabric & style.
— Cotton twill, canvas and denim accept abrasion and dyeing best; polyester/nylon and hats with paper-board brims or leather trims require gentler methods or professional handling. - Small-area test first.
— Always try your chosen technique on an inconspicuous area (inside sweatband, under brim) to check color change, fiber reaction, and structural effects. Document results (photo + time) so you can reproduce or stop. - Low-intensity abrasion / light fading.
— Start with fine sandpaper, an old toothbrush, or dilute peroxide sprays to create subtle scuffs and soft faded areas. Work gradually — multiple light passes look more natural than one aggressive pass. - Layer damage slowly.
— Add thread-pulling, micro-cuts, or tea/coffee staining in controlled stages. Build variation in intensity and placement (edges, high-contact zones) to mimic real wear. Avoid doing irreversible cuts until you’re satisfied with the look. - Set shape & protect color.
— Rinse and neutralize any chemicals, air-dry or low-heat shape with a hat form or rolled towel, and optionally apply a fabric fixative or light spray to stabilize color and reduce future bleeding.
Materials (quick checklist)
- Fine and medium grit sandpaper
- Old toothbrush or stiff (not metal) brush; optional small steel brush for heavy canvas
- Seam ripper / small scissors / tweezers (for thread-pulling)
- Diluted bleach or hydrogen peroxide (use with caution) or commercial color removers
- Tea or coffee for warm staining (natural dye)
- Spray bottle, buckets, towels, and plastic drop cloth
- Painter’s tape or masking tape (to protect logos/trim)
- Needle & thread, patches (for repair or decorative patching)
- Gloves, eye protection, and a mask; good ventilation
- Hairdryer or low-heat steam source; hat form or rolled towel for reshaping
Estimated time & difficulty
- Quick scuffing / subtle fading: 30–60 minutes (beginner-friendly).
- Full distress workflow (test → fade → scuff → detail → set): 1–2 hours for a single hat.
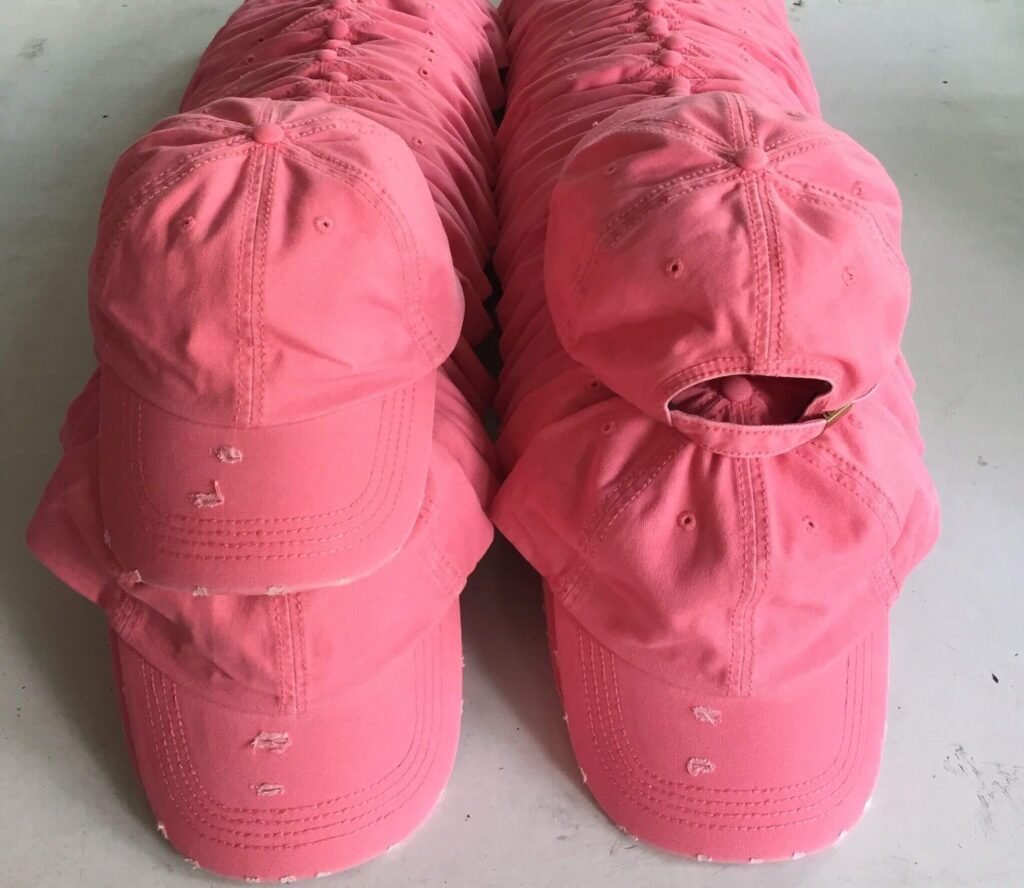
- Small-batch or brand trials: add setup, documentation, and QC time — plan hours to days depending on repeatability and drying cycles.
Hat Distressing Methods
A. Abrasion (the safest, most controllable starting point)
- What it does: Lightly removes surface fibers and creates soft scuffs, whiskering, and worn spots that read as natural aging.
- Best for: Cotton twill, denim, canvas; works well on dad hats, bucket hats, and many 5-panel styles.
- How to: Work gradually with fine-to-medium sandpaper or an old toothbrush/stiff brush. Focus on high-contact zones (visor edge, front panel, seam intersections). Use short, repeated passes rather than one aggressive stroke. Keep photos of progress for repeatability.
- Risks & mitigations: Over-abrading weakens fabric and seams; avoid heavy brushing near structural stitches and test on a hidden area first. Don’t use aggressive metal blasting at home—stick to hand tools for small-batch work.
- Search-intent note: Users searching how to sand a hat or distress a dad hat without bleach want step-by-step visuals and reassurance that abrasion won’t ruin the brim.
B. Chemical Fading (targeted lightening and contrast)
- What it does: Produces quick, noticeable lightening—good for sun-faded looks and high-contrast highlights.
- Best for: Natural fibers (cotton, cotton blends). Avoid on untreated polyester, leather trims, and paper-board brims.
- How to: Use diluted oxidizers (e.g., hydrogen peroxide or careful, well-ventilated bleach solutions) applied with a spray bottle or cotton swab for spots. Work in well-ventilated area with gloves and eye protection. Neutralize and rinse thoroughly after achieving the desired tone. Always test first.
- Risks & mitigations: Over-bleaching damages fibers and discolors logos/embroidery. Protect hardware and trims with tape or remove them if possible. Neutralize spills and dispose of waste per local guidance.
- Search-intent note: Searchers asking how to fade a cap without ruining logo are looking for safe dilution tips, masking techniques, and neutralization steps—include precise test-and-reverse guidance.
C. Staining / Tonal Aging (tea, coffee, mud for warm, natural patina)
- What it does: Adds warm, lived-in tones and irregular, organic stains that mimic years of wear.
- Best for: Canvas, cotton, denim; inconsistent on synthetics. Ideal for subtle vintage cast.
- How to: Apply strong brewed tea/coffee with a sponge or spray, dab for variation, let sit until desired tone, then rinse lightly and air dry. For deeper tones, repeat in thin layers.
- Risks & mitigations: Uneven saturation and wash-out over time—set color with gentle heat or fabric fixatives and advise users on care (cold wash, gentle detergents).
- Search-intent note: People searching how to give a hat a vintage tea stain want natural recipes, before/after photos, and wash-fastness expectations.
D. Structural Distressing (thread-pulling, small cuts, controlled holes)
- What it does: Creates authentic holes, pulled threads, and frayed seams—high-impact “lived-in” markers.
- Best for: Robust woven fabrics and design-forward placements (visor edge, seam joins). Use sparingly on delicate or structural seams.
- How to: Use a seam ripper, small scissors, or tweezers to remove selective threads, then gently pull fibers to fray. For tiny slits, cut carefully and tug fibers, then reinforce on the reverse with small backing patches if you want to prevent run-through. Always stage progressively—don’t cut until you’re ready to commit.
- Risks & mitigations: Cuts can propagate and weaken shape; back small holes or use decorative patches/stitching if needed. Document locations if repeating across a batch.
- Search-intent note: Queries like how to make a hole in a hat without tearing more seek repair options and reinforcement techniques as much as the original method.
E. Machine-Accelerated Wear (wash & tumble techniques for simulated long-term use)
- What it does: Simulates multiple wears quickly via agitation, friction, and heat—creates softened hand and general fading.
- Best for: Durable caps where brim cores are removable or plastic brims are heat-stable. Not recommended for paper-board brims, delicate trims, or trucker mesh.
- How to: Use a protective laundry bag or pillowcase, add a few towels or tennis balls to increase abrasion, select a short, low-spin cycle and low heat drying. For hats with cardboard brims, either remove/replace the brim or avoid machine processes entirely.
- Risks & mitigations: Warped brims, misshapen crowns, and weakened seams—use low-heat settings and reshape while damp with a hat form or rolled towel. Test with one sample first.
- Search-intent note: Those searching how to age a hat in the wash are often after repeatable, small-batch techniques and guidance on preserving brim shape.
F. Metal Oxidation (aging hardware for a vintage look — optional and high-risk)
- What it does: Produces rusty/oxidized patina on metal eyelets, buckles, and rivets for an antique aesthetic.
- Best for: Metal hardware that won’t bleed rust onto fabric (stainless alternatives fare better). Use on designated pieces rather than across entire hats.
- How to: Apply a controlled oxidizer (vinegar/salt solution or commercial patina agents) directly to metal hardware, protect adjacent fabric with tape, and neutralize once desired patina appears. Seal with a clear matte lacquer or specialized metal sealer to prevent further staining.
- Risks & mitigations: Rust bleed can permanently stain fabric; always mask and test on a sample hardware piece. For many brands, sourcing pre-aged hardware is a safer production-scale option.
- Search-intent note: Searches like how to age hat hardware want safe, reversible methods and instructions for sealing to prevent bleed.
Distressing Tips for Different Materials and Styles
- Cotton twill, denim, canvas → Best suited for abrasion with sandpaper, old toothbrush, or wire brush. Responds well to fading and fraying.
- Polyester, nylon, performance fabrics → Avoid strong bleach; instead, try light scuffing or tea staining for subtle effects.
- Trucker and mesh caps → Limit distressing to the brim and cotton front panels; mesh can tear easily, so only gentle abrasion or light fading is recommended.
- Wool blends → Use controlled brushing or mild enzyme wash for a vintage look; avoid high heat or harsh chemicals.

Logo and Decoration Handling
- Embroidery → Light thread-pulling or surface abrasion to highlight raised areas; avoid full bleaching.
- Printed graphics → Mask edges with tape, then use gentle fading (spray bleach, dab with diluted solution) or light scuffing.
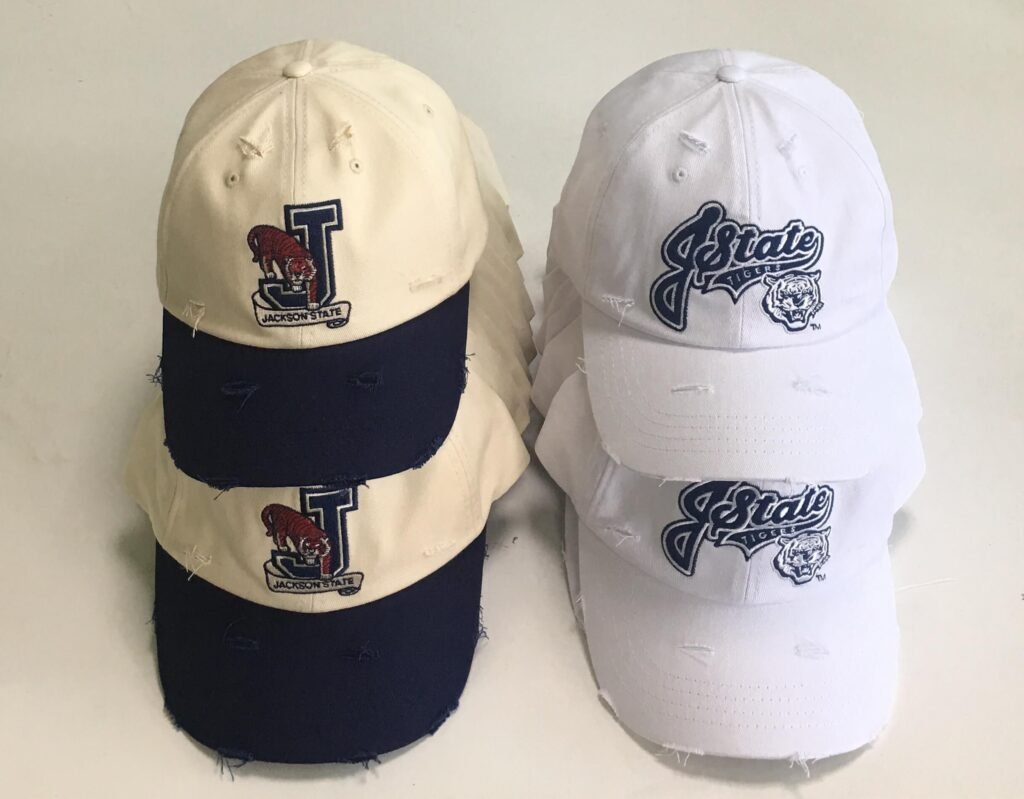
- Appliqué or patches → Can be distressed separately or used as cover-ups for over-distressed areas, enhancing a vintage patchwork vibe.
- Metal eyelets, buckles, snaps → Wipe with vinegar + salt for patina; seal afterward to prevent rust stains on fabric.
Conclusion
Sumkcaps is here to remind you.Distressing a hat is both an art and a craft, with techniques tailored to fabric, style, and embellishments. From gentle abrasion on cotton and canvas to subtle staining with tea or coffee, each method allows for controlled aging that preserves the hat’s structure and character. Embroidery, prints, patches, and metal hardware require careful handling to maintain visual integrity while adding authentic wear. By selecting the right techniques for each material and layering effects gradually, DIY enthusiasts and brands alike can achieve a natural, vintage look that meets aesthetic goals safely and effectively.
FAQ
Yes, use light abrasion with a soft brush or fine sandpaper, and surface pigment sprays; avoid harsh chemicals or heat.
Focus on surface techniques like gentle sanding or spot staining; protect the underside and avoid soaking or high heat to prevent warping.
Yes, full bleaching can damage thread color and fibers. Use masking or spot-dab methods for safety.
It varies by fabric and sunlight intensity; generally 1–3 days for noticeable lightening, checking frequently to avoid uneven fading.
Yes, but limit wet or heat-based processes; stick to surface abrasion, light staining, and thread-pulling on durable panels.
Re-dye lightly with tea, coffee, or fabric dye; blend gradually and test on hidden areas first.
Reshape while damp using a hat form or rolled towel, then air dry or use low-heat blow-drying; avoid high heat that can warp brims.