跳到内容
跳到内容 Custom hat printing has become one of the most creative and rewarding ways to express your brand, promote an event, or simply show off your personal style. Whether you’re a small business owner looking to produce promotional caps, a designer exploring new merchandise ideas, or a DIY enthusiast ready to try something hands-on, printing on a hat opens endless possibilities. From bold screen prints to professional embroidery and easy vinyl transfers, there’s a technique for every project and budget. In this guide, we’ll walk you step by step through how to print on a hat, how to choose the right printing method, and even how to set up your own mini screen-printing station at home.
Hat Printing Step-by-Step Guide
Step 1: Choose Your Design
Every great printed hat starts with a great design. Whether it’s your brand logo, a catchy slogan, or a custom graphic, make sure your artwork is clear, high-resolution, and fits the shape of the hat’s front panel. Keep in mind that curved surfaces can slightly distort a design, so simpler graphics with bold lines and fewer colors usually print best.
Step 2: Prepare Your Artwork
Once your design is ready, convert it into a digital format compatible with your chosen printing method. For embroidery, you’ll need a digitized stitch file (DST or EMB). For screen printing and vinyl transfer, vector formats like AI, EPS, or SVG work best. Make sure all fonts are outlined and colors are separated for accurate printing.
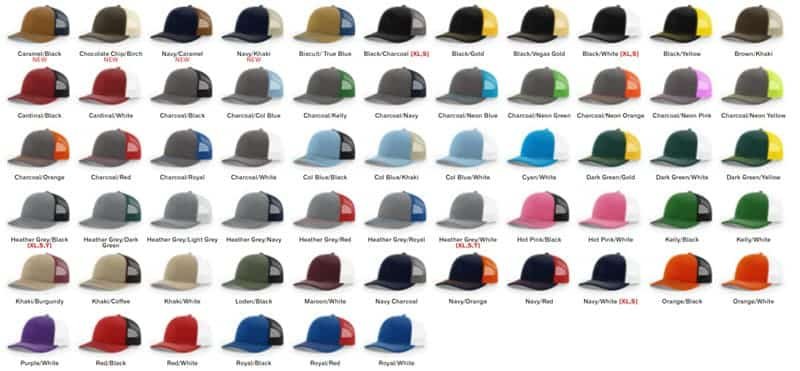
Step 3: Choose Hat Style and Color
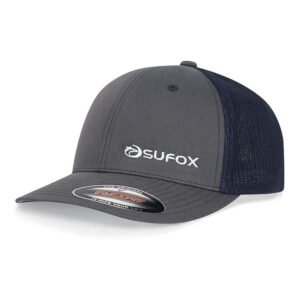
Your choice of hat can make or break your final result. Cotton dad hats are perfect for embroidery, mesh trucker hats work great with screen printing, and polyester performance caps handle heat transfers well. Also, think about contrast — a dark logo on a light hat or vice versa helps your design pop.
Step 4: Print Your Design
Now comes the fun part — bringing your design to life. Depending on the technique you choose, this step might involve running a heat press, loading thread into an embroidery machine, or pulling ink through a silk screen. Always test on a sample hat first to make sure the placement, scale, and colors come out just right.
Choosing the Right Printing Method
Not every printing technique works the same way — or delivers the same results. The right method depends on your design, budget, and how many hats you’re planning to produce. Let’s break down the three most popular printing options for custom hats: screen printing, embroidery, and vinyl heat transfer.
Screen Printing
Screen printing is one of the oldest and most popular ways to print on hats. It involves pushing ink through a fine mesh screen onto the fabric, one color at a time. The result? Bright, durable designs that stand up to everyday wear.
This method works best for bold logos and simple graphics with limited colors. It’s ideal for large production runs since setup costs can be higher but the cost per hat drops significantly with volume. Just keep in mind that screen printing works best on flat surfaces, so structured caps or foam trucker hats tend to yield cleaner results.
Pros: Vibrant colors, cost-effective for bulk orders, long-lasting prints.
Cons: Not great for complex multicolor or gradient designs; higher setup cost for small batches.
Embroidery
If you want your hats to look professional and premium, embroidery is the go-to choice. Instead of using ink, the design is stitched directly into the fabric using colored threads. This gives your logo or artwork a textured, 3D look that feels luxurious and lasts for years.

Embroidery is perfect for brand logos, team caps, or high-end merchandise. It’s durable, fade-resistant, and instantly adds a sense of quality to any hat. However, detailed designs with thin lines or gradients may not translate well in thread form.
Pros: High-end finish, extremely durable, adds texture and depth.
Cons: Limited color gradients, slightly higher production cost.
Vinyl Heat Transfer
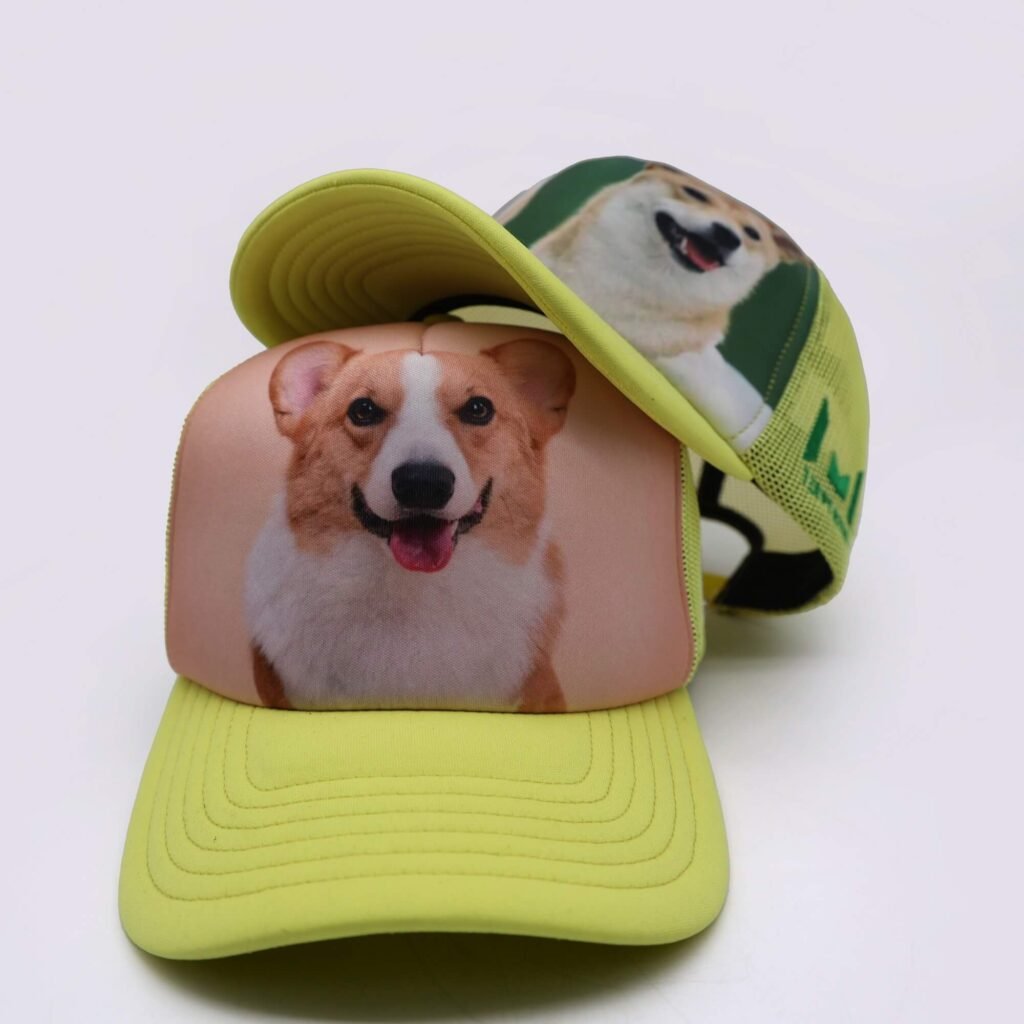
Vinyl heat transfer is a modern, flexible method that uses a heat press to bond a cut vinyl design onto the hat’s surface. It’s perfect for small batches, personalized designs, or DIY projects. You can easily add names, numbers, or custom artwork with sharp detail and smooth edges.

This technique works especially well on polyester or cotton-blend hats, but it’s not ideal for textured or heavily curved surfaces. While vinyl prints look sleek and clean, they may wear faster over time compared to embroidery.
Pros: Great for small runs and personalization, simple setup, sharp results.
Cons: Not as durable as embroidery; heat-sensitive fabrics may limit options.
How to Screen Print Hats at Home
If you’ve ever wanted to try hat printing yourself, screen printing at home can be both fun and rewarding. With a few basic tools and a bit of practice, you can create professional-looking results right from your own workspace. Here’s how to get started:
1. Gather Your Materials
You’ll need a screen printing frame, emulsion, squeegee, ink, a hat platen or curved printing surface, and, of course, your blank hats. Make sure your workspace is clean, well-lit, and ventilated.
2. Prepare Your Screen
Coat your screen evenly with emulsion and let it dry in a dark space. Once it’s dry, place your design transparency over the screen and expose it to light. After exposure, rinse off the unexposed emulsion to reveal your stencil — your custom printing screen is ready!
3. Secure the Hat
Position the hat tightly over your curved platen so the front panel lies flat under the screen. It’s important to get a snug fit — any shifting during printing can blur the design.
4. Apply the Ink
Place a small amount of screen printing ink at the top of the screen and pull it down smoothly with your squeegee. Apply even pressure to ensure consistent ink coverage. You can do multiple passes if necessary, but avoid overloading the fabric.
5. Dry and Cure the Print
Carefully remove the hat and let the ink dry. To make the print durable, cure it using a heat gun, flash dryer, or heat press according to the ink manufacturer’s instructions. Proper curing prevents cracking and fading over time.
6. Quality Check
Inspect the print for even color, clean edges, and proper alignment. Once you’re satisfied, your custom screen-printed hat is ready to wear or sell!
Conclusion
Printing on a hat isn’t just about decoration — it’s about telling your story, promoting your brand, and creating something people actually want to wear. Whether you’re aiming for the textured precision of embroidery, the bold vibrancy of screen printing, or the flexibility of vinyl heat transfer, each method offers its own creative advantage.
The key is to match your design, budget, and purpose with the right technique. Screen printing shines for large runs and colorful logos; embroidery gives your hats a premium, long-lasting finish; and vinyl transfer is perfect for small batches or personalized projects.
At Sumkcaps, we combine over 20 years of hat manufacturing expertise with modern printing technology to help you bring your designs to life — from classic baseball caps to stylish rope and performance hats. Whether you need a few custom pieces or a full-scale production, our factory-direct service ensures consistent quality, fast turnaround, and competitive pricing.
So, ready to make your mark?
Start creating your custom printed hats today — with Sumkcaps, your design starts here.
FAQ
It depends on your goals. If you want a premium, durable look for brand logos or uniforms, embroidery is the best choice. For large batches and bold, colorful designs, go with screen printing. If you’re doing small runs, personalized gifts, or DIY projects, vinyl heat transfer is the most convenient option.
Not exactly. Screen printing works best on structured or foam-front hats with a smooth surface. Soft or heavily curved hats, like dad caps, can be tricky to print on since they don’t sit flat under the screen. In those cases, embroidery or vinyl transfers may be better alternatives.
Yes — embroidery typically outlasts most printing methods. Because the design is stitched directly into the fabric, it won’t crack, peel, or fade over time. That’s why it’s the go-to option for uniforms, promotional hats, and high-end merchandise.
Absolutely. Vinyl heat transfer works great with a cap heat press, which is designed with a curved platen to fit the hat shape. Just make sure to use the correct temperature and pressure for your vinyl type, and always pre-press the hat to remove moisture and wrinkles before applying the design.
With proper care, a screen-printed hat can last several years, while embroidered designs can last the entire life of the hat. Vinyl prints tend to have a shorter lifespan, especially with frequent washing or sun exposure, but they’re still a great option for one-off or short-term use.